Choose a photo the scan can travel through
An AI 3D hologram video gives a person a glowing projection look inside a normal video. The AI 3D Hologram tool starts with one photo, adds a ring at the feet and scans upward into cyan light. Read the effect introduction for the intended visual sequence.
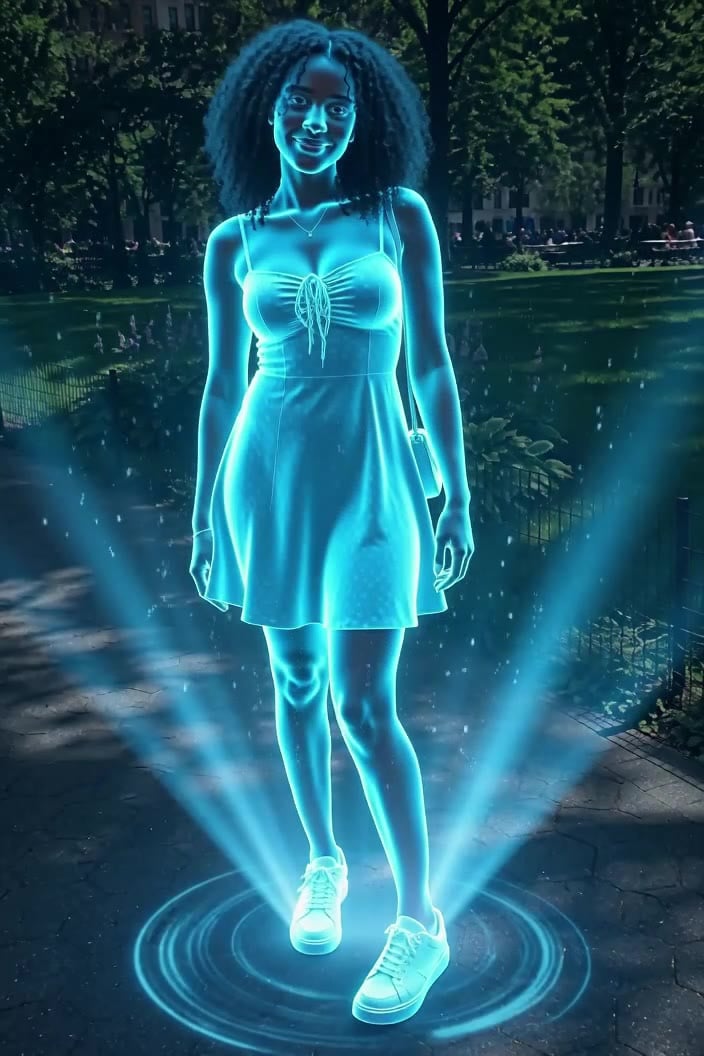
The preset creates a silent, 5-second, 720p clip for 284 credits. It keeps your photo's aspect ratio. It exports a video, rather than a 3D model, transparent cutout or projector file. Check the quote in the studio before generating.
Step 1: Check the floor, face and background
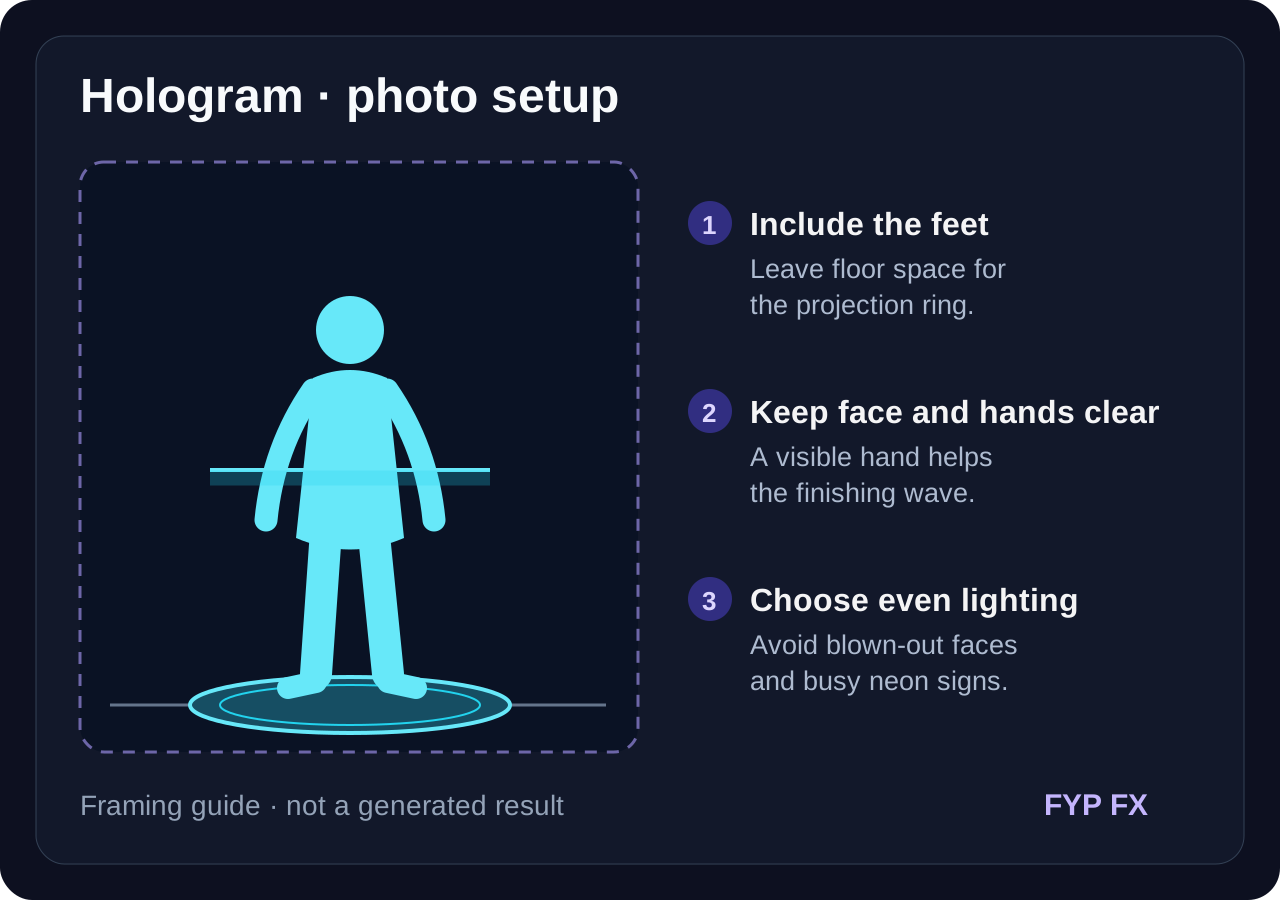
Use one JPG or PNG, up to 20 MB, with one standing person from head to shoes. Use a photo you have permission to use.
Three parts of the source matter for this effect:
- Visible floor and shoes give the projection ring a place to appear. A half-body crop can hide the ring or cause AI to invent the missing lower body.
- A sharp, evenly lit face gives the scan lines and glow more facial detail to work with. Strong backlighting or a face in deep shadow can lose detail.
- A plain, neutral or darker background can make the cyan outline easier to see. A busy or washed-out scene can compete with the glow.
Keep the original outfit visible. The preset asks the glowing clothing to retain its shape and coverage, although small details can change.
Step 2: Upload and start the preset
Open AI 3D Hologram, sign in and upload the photo. After the upload finishes, check the preview includes the feet and face. Confirm your balance covers 284 credits, then select Generate once.
The cyan colour, projection ring and scan are fixed. There is no prompt box or colour selector. Processing can take several minutes. If progress stops updating, check My videos and your balance before submitting another generation.
Step 3: Follow the ring, scan and final gesture
The preset asks for a ring at the feet first, an upward scan through the body next, and then a small smile and wave before the hologram holds its pose. Fine horizontal scan lines, a luminous outline, flicker and upward particles complete the projection. The background is intended to stay steady.
Review the transition as well as the final frame:
| Check | A useful source change if needed |
|---|---|
| The ring sits below the shoes | Use a full-body photo with a simple, visible floor. |
| The face remains recognizable after the scan | Choose a sharper face in even light; glow strength still varies. |
| The wave has natural fingers and one arm | Start with the hand visible and separated from the body. |
| The outfit keeps its outline and the background stays steady | Use less clutter and avoid objects crossing the person. |
A still thumbnail cannot show whether the scan or hand motion worked. Watch all five seconds before keeping the result. A new generation uses credits and does not guarantee the same glow or gesture.
Step 4: Download and finish the transmission edit
Use Download video in the studio, or open the completed result in My videos. The clip is silent. In TikTok or your editor, add a low electronic hum that rises with the scan and a short glitch sound when the scan finishes.
For an incoming-transmission intro, place a short caption away from the face. Captions and sound are editing steps after downloading. Identify the video as AI-generated when sharing.
FAQ
Do I need a hologram projector or fan display?
No. The projection is a generated visual inside the video.
Can I choose a different colour?
No. This preset uses cyan light and scan lines.
Can I turn the result around as a 3D model?
No. The result is a video with a hologram look; it does not contain an editable 3D model.
Pick a full-body photo with a clear face and create an AI 3D Hologram video. For other transformations, see AI Mecha Transformation or AI Neon Glow Dance.